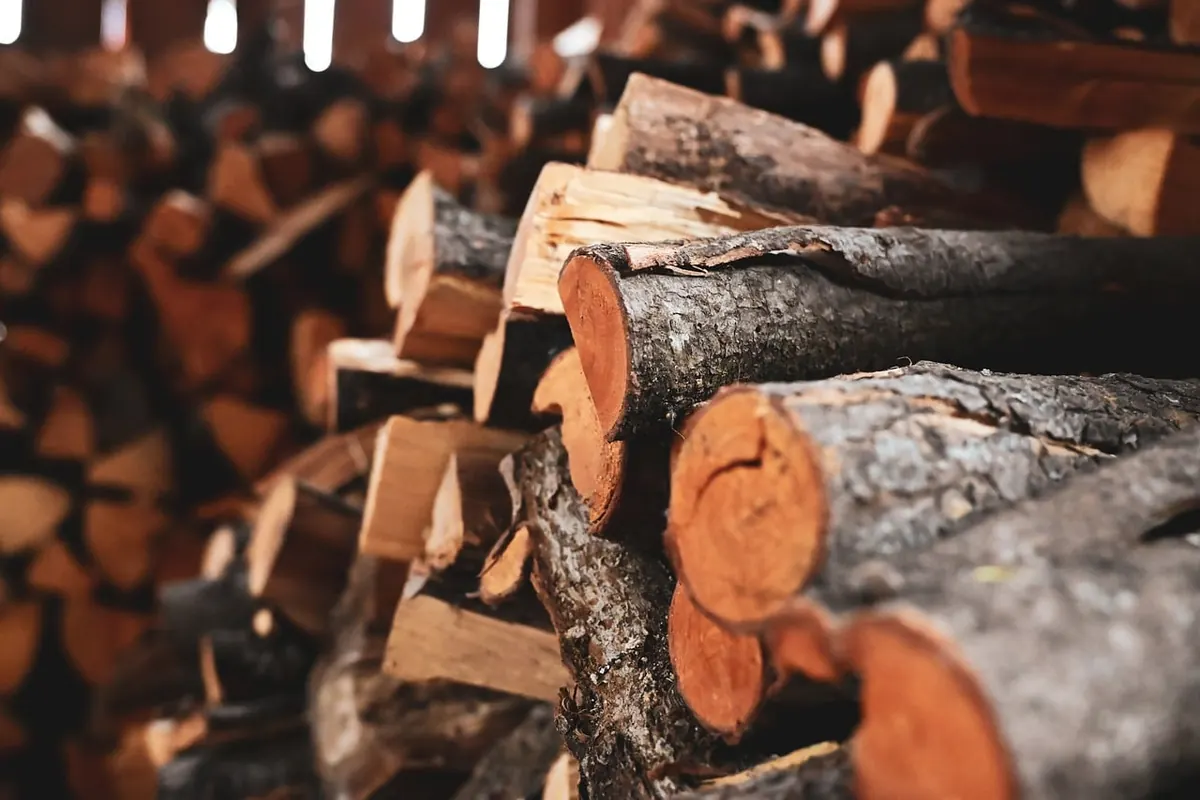
Build a fire with damp logs and you will spend the evening nursing it: prodding, adding kindling, watching the glass blacken while the room refuses to warm up. Build it with properly seasoned wood and the same stove behaves completely differently. It lights in minutes, burns steadily, and leaves a pale, powdery ash instead of clinker and tar. The difference is rarely the stove or your technique. It is water. Seasoning is simply drying wood before it goes anywhere near the firebox, and it is the most valuable habit any hearth owner can develop.
The number that matters is moisture content. Freshly felled timber can be anywhere from 40% to well over 50% water by weight. Wood that has been properly air-dried sits below 20%, and the sweet spot for most stoves is 15–18%. Kiln-dried logs are usually sold already inside that range. Everything else has to earn it.
Above roughly 25% moisture, the fire spends more energy evaporating water than heating the room. It smokes, it hisses, it deposits tar in the flue, and your chimney sweep will have opinions. Below 20%, wood ignites more readily, burns hotter, produces far less smoke and leaves less soot. That is the whole game.
Dry wood is not a luxury extra. It is the difference between a fire that heats the room and one that heats the chimney.
The quickest way to speed up drying is to split logs to size before stacking them. Water leaves wood through exposed surfaces, so a log split into four pieces has several times more surface area to lose it from than a whole round. Split pieces dry in a fraction of the time.
Aim for splits roughly 8–12cm across at the thickest point for a typical stove: big enough to burn slowly, small enough to catch. Knotty, awkward pieces can be split again. Keep a small pile of thin splits aside for kindling, because they will be ready months before the rest.
If you are working with rounds that have been sitting for a while, cut them to length first. Logs should be a few centimetres shorter than your firebox so air can move around them and you are not wrestling with a piece that only fits at an angle.
Airflow is everything. A stack that stays damp on the inside will rot rather than season, and rotten wood smells like a cellar and burns badly.
There is no single answer, because it depends on species, split size, climate and how you stack. As a rough guide:
A damp, still part of the country can add six months to any of those. The only dependable test is the meter and a split log, not the calendar. If in doubt, leave it another summer.
Seasoned wood reabsorbs moisture if it sits out in the rain, so move a winter's worth into a covered store or a dry shed once it has passed the test. Outdoors, keep the top covered as before.
Indoors, resist the urge to fill the room with logs. A day or two's supply in a basket is plenty. A large indoor stack brings in insects, encourages mould and dries out your living space. Keep the basket at whatever distance your stove's manual specifies, and rotate it: bring a batch in, burn it, bring in another.
The trick to never running short is to work a year or two ahead. When a load of wood arrives, split it, stack it, and note the date on a scrap of board or in your phone. Next autumn you will be burning what you stacked last spring, and the wood after that is already drying.
Seasoning is not complicated. Split it, stack it with air around it, cover the top, and give it time. The reward is a fire that lights when you want it to and warms the room instead of the sky.
Photo: cecigre / Pixabay

Smoke control areas cover much of urban Britain. Here's how to check your postcode, which fuels are authorised, and...
A practical guide to fire guards, log baskets, ash caddies, tools and hearth rugs — how to choose kit that keeps...
When a chimney liner is genuinely needed, the main types available, and how to tell whether your existing chimney...

Your cozy guide to fireplaces and hearth living.
